Raspberry Pi 4 over USB
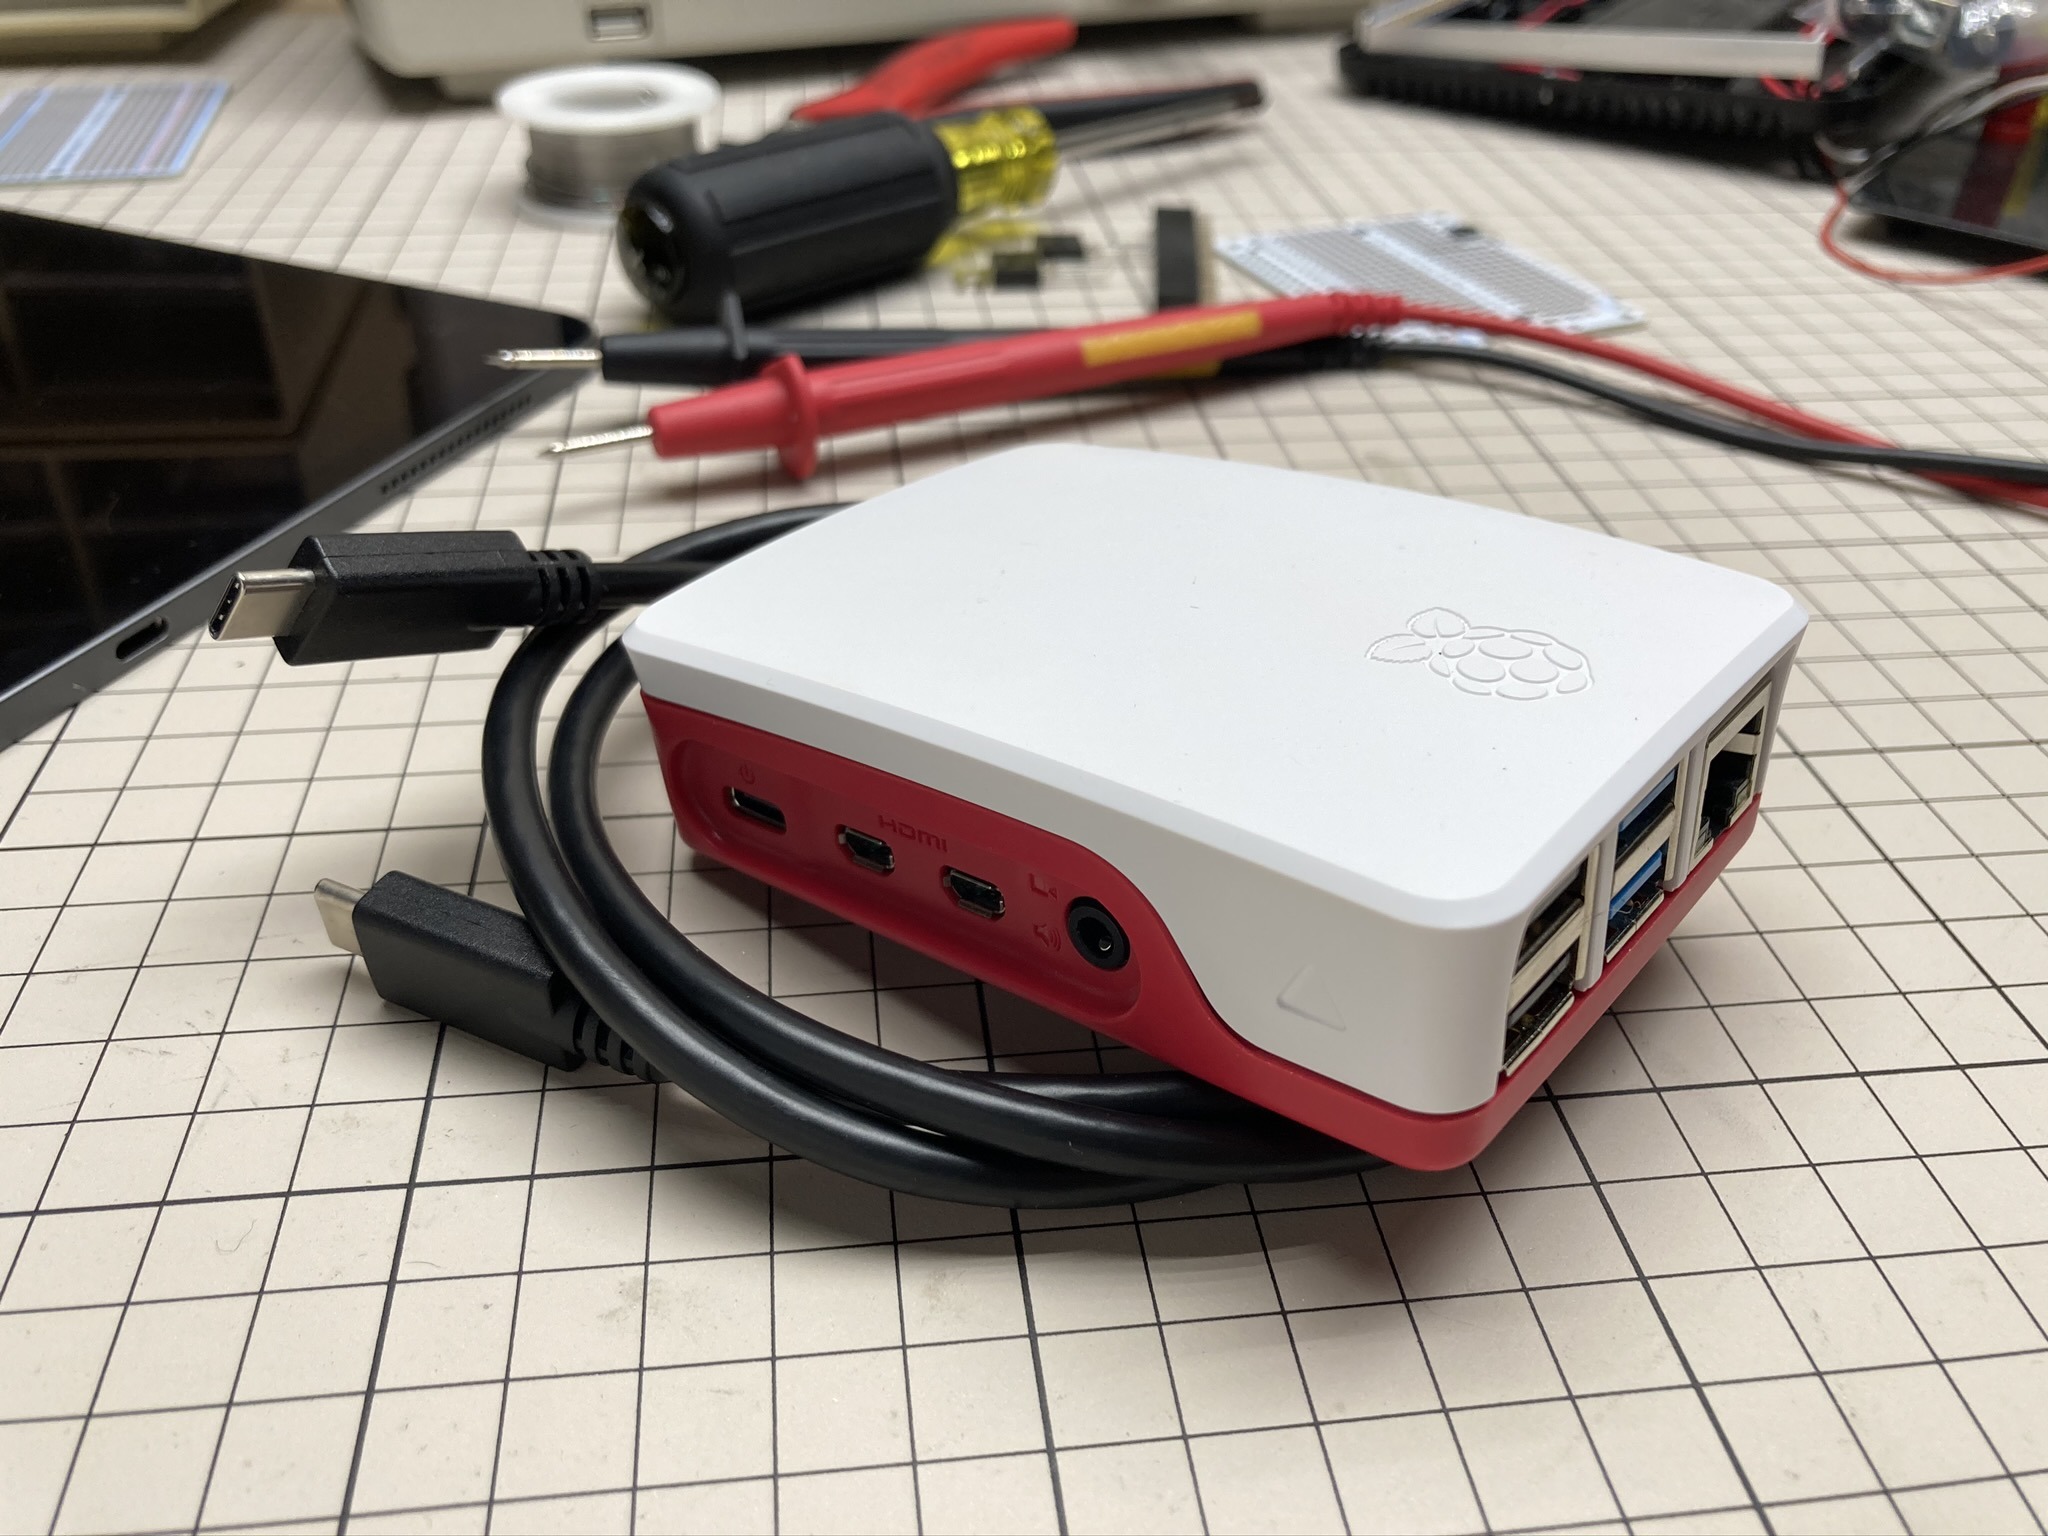
Imagine using your Raspberry Pi without a power supply. This dream can now be our reality. Nothing but you, your laptop (or iPad!), a Pi and a USB-C cable.
Here's my way of setting up a Raspberry Pi, using the latest version of Raspberry Pi OS Buster. This article assumes you have a good bit of knowledge about the Raspberry Pi environment. If something doesn't make sense to you, feel free to reach out. This works with the Raspberry Pi 4, and it should work with the Zero and Compute Module, too.
A Very Basic Setup
- Write the "Raspberry Pi OS Lite" image to a micro SD card.
- Create / modify the following files at the root of the "boot" partition on the SD card...
- Add a blank file called just
ssh. This will enable SSH when the Pi boots up. - Add
dtoverlay=dwc2on its own line at the very bottom ofconfig.txt. - Add
modules-load=dwc2,g_etherafterrootwaitincmdline.txt. Groups of arguments in this file are separated by spaces, but there should be no newlines in this file. - Unmount the SD card and plug it into the Pi.
- Plug one end of a USB-C cable in to the Pi.
- Plug the other end in to a host/laptop/iPad.
- The boot sequence and self-setup will take... 1-2 minutes.
- Use
sshto connect topi@raspberrypi.local. (The default password is justraspberry.)
Limitations
- This is a "basic" setup only. It sets up a bare minimum as far as networking goes. For instance, at this point the Pi and your host/laptop have been forced to self-assign IP addresses, which is kind of messy and unreliable.
- Here we are relying on something called zeroconf to be able to find the Pi based on its hostname, which also can be pretty unreliable. This is not like DNS where you ask a designated DNS server for help finding the host. With zeroconf you basically spam everything on your local network by broadcasting over UDP.
- A specific problem is that it's extremely likely that you already have some OTHER Raspberry Pi hardware running in your house or office, and chances are it has the same hostname as this new Pi. The default hostname "raspberrypi.local" cannot be changed from the initial SD card setup stages. :(
- This is the wild west, in a way, but it works and can get you on to the next steps without requiring an ethernet cable or a power adapter or a WiFi network!
- Of course this pi is in no way "secure" at this point. Everything is wide open, default password etc. but sometimes that's all you need.
What's next?
The network setup could be better! So let's talk about that... Networking with Raspberry Pi
Also, there's a newer way of emulating a USB ethernet adapter. You can also emulate a "composite" device so that your Pi looks like external storage as well as Ethernet. Posibilites are endless. We'll cover that here at USB Composite Devices with Raspberry Pi
There's lots more you can do but for some ideas, check out the article Raspberry Pi First Steps for 2020